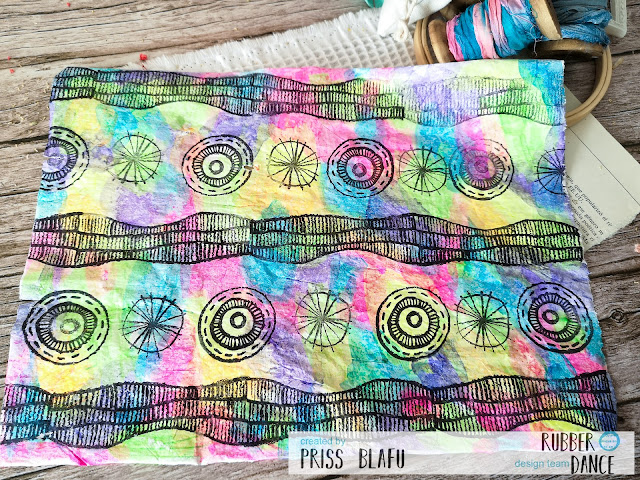
How to design your own tissue paper for Mixedmedia by Priss
Hello, Hello!!!
I'm Priss and I welcome you to a new tutorial. Today I'll show you how to design your own tissue paper to bring your mixed media backgrounds to life with the fabulous Rubber Dance stamps.
First, let me show you some photos of the tissue papers you could design with this tutorial.
But if you're impatient and don't want to wait to get started, scroll to the bottom for the video tutorial.
And now it's time to get your hands dirty and create your own decorated Tissue Papers. You will need:
- Tissue paper. Sorry, cause in the video I often call it Silk Paper.
- Permanent ink. I used Versafine Clair, but you could use your favorite. Just make sure that it's permanent.
- Acrylic Paintings. Choose the colors you want.
- And of course your favorite Rubber Dance stamps.
Let the fun begin...
I really hope you like it and encourage you to create your own. Sorry about my English.
Hugs, Priss
(My Posts | Instagram | Facebook)
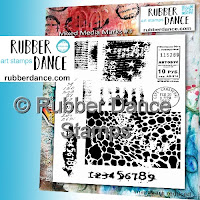
Here are the stamps I used:


Comments