Posts

Showing posts with the label Mandalas

How to design your own tissue paper for Mixedmedia by Priss

Image
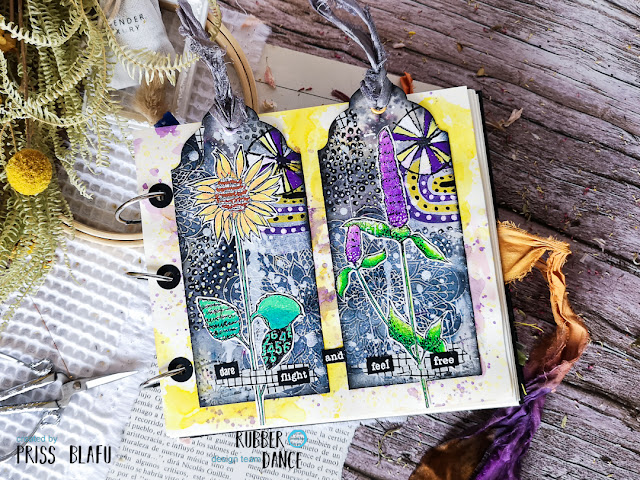
Hello, Hello!!! I'm  Priss  and I welcome you to a new tutorial. Today I'll show you how to design your own tissue paper to bring your mixed media backgrounds to life with the fabulous Rubber Dance stamps. First, let me show you some photos of the tissue papers you could design with this tutorial.  But if you're impatient and don't want to wait to get started, scroll to the bottom for the video tutorial. And now it's time to get your hands dirty and create your own decorated Tissue Papers.  You will need:  Tissue paper. Sorry, cause in the video I often call it Silk Paper. Permanent ink. I used Versafine Clair, but you could use your favorite. Just make sure that it's permanent.  Acrylic Paintings. Choose the colors you want. And of course your favorite Rubber Dance stamps. Let the fun begin... I really hope you like it and encourage you to create your own. Sorry about my English. Hugs, Priss ( My Posts  |  Instagram  |  Facebook ) ...

SEPTEMBER INSPIRATION

Image
  Hello Rubber Dance friends. Gail here todaywith some bright and beautiful inspiration from the Rubber Dance team!! The first day of the month so we have a new moodboard.  The team has used the moodboard for their inspiration pieces but we would love to see any new makes you have created using Rubber Dance stamps.  If you need a little help to get started Dunja has put together this awesome moodboard.  You can be inspired by anything on the moodboard; one or more colours, things, shapes, memories it inspires, things it makes you feel, etc. etc.. Here's the wonderful September Moodboard If you are creating anything with Rubber Dance stamps this month, whatever your inspiration, please share in our FB fan group cos someone is going to win €10 to spend in the Rubber Dance store !   Don't forget.... You gotta be in it to win it! Now here's some inspiration from the team to get us started....   Kate used Carved collection 1 , ...

How to improve an ugly background by Priss

Image
Hello, I'm  Priss  and I welcome you to a fun Tutorial improving a background that I didn't  like the first time.  Do you remember this art journal page I made for March ? Well, when I did the background the first time, it didn't turn out the way I expected. The Resist Technique didn't work well with the clear embossing powder, so I did it with Gold EP. But here nothing is thrown away, much less failed backgrounds. So I saw the failed background and my first idea was to make two labels. I cut the paper into two 2.5-inch stripes and punched them out with a tag puncher. I feel that my backgrounds need more light and elements that make a contrast. That's why I decided to stamp some rainbows of the set  Carved Collection 1 ,  with violet and yellow inks over silk paper. You know I love to use silk paper over my backgrounds. Then I glued  the rainbows and stamped over the tags with stamps of the set  Pencil Marks 5 . After that, I chose some Posca pens...

Dreaming Cat Card by Farida

Image
 Hello lovlies, so happy to welcome you on the blog again. Hope you are doing well? This time I got a video for you again, showing how I assambled this card.  I prepared a piece of vellum, that is slightly smaller than my card base, by stamping several mandalas from the Mandalas Stamp set .  And the sentiment from the Affirmations set were stamped on some white cardstock.  Before the card is ready to be assambled I had so stamp and colour the Garden Cat by using my watercolours.  And here is my Reel on how I assabled the card. Enjoy and happy crafting. Farida

Colorful present cards with Mandalas by Mariken

Image
Hi everyone! Mariken here, with a tutorial for you,  making these colorful present cards I used : Mandalas , Round in Circles and Mix A Sentiment #1 I  made a some backgrounds with ecoline brushpens and my gelli-plate.  You can see the process below.                                       I made some stripes on my gelliplate with different colors                                               and sprayed the ink with a little bit of water.                           Here are my prints. The light pink one is...