
Stamping with acrylics with Kate

today I will share with you some tips and tricks for my favourite technique - stamping with acrylics, I will not mention all stamp sets which I used because I use really many of them. You can use rubber and clear stamps for this technique too.
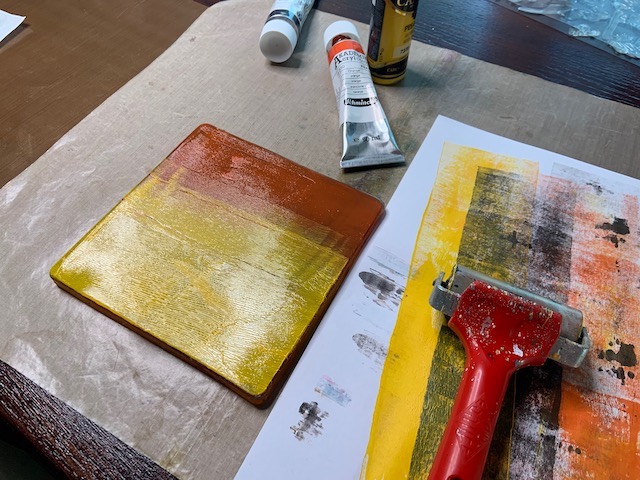
You will need - gelli plate, acrylics, brayer, papers, stamps - there is option to apply colour instead of gelli plate to some non porous surface, but gelli plate is really great so I will speak only about it.
1. Apply acrylics at gelli plate just like when you are playing with gelli printing do not wait to next step we need to have paint wet! Brand of acrylics is not important quality of them is important, do not use very cheap liquid ones, invest just a little bit into some heavy weight (you know cheap ones they have some chemicals which makes paper so much wet and also they are terrible for gelli printing)

3. If you do not want to use one particular stamp one more time immediately clean it!!! Do not let acrylics dry. If you want to use it just take 2 baby whipes and put stamp on them, stamp will remain wet and acrylics will not dry at it. But of course do not wait long, baby whipe is also drying it always depends if you live in hot country or cold country (longer drying) with more humidity.


5. After each stamping clean gelli plate by making just classic gelli print, or you can of course apply more layers of colour, but I like to have bright not so mixtured stamped image, so I am cleaning it. Your prints you can use later for another crafty session.

6. Do not forget about cool metallic acrylics they look awesome at black paper.


Comments