MARKS ´N SPARKS
Hello, dear friends of Rubber Dance art stamps. My name is Gabriele from Art-a-tag and I am a mixed media artist from Germany. This time I would like to show you how easy it is using stamps to create interesting structures.
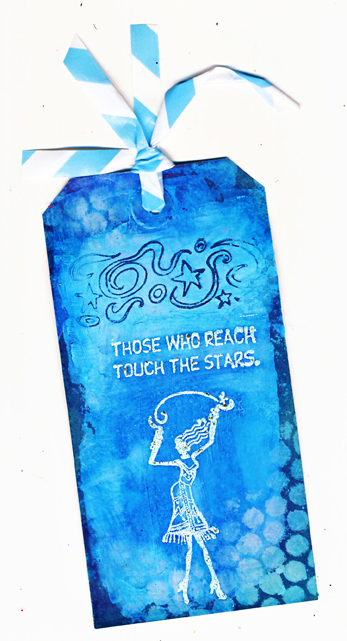
To demonstrate this workaround I am using low cost manila tags, the darker kind. With a palette knife or plastic card I apply a fairly thick coat of thick white paint. Don´t be too tidy and leave small areas uncovered to add some interest. I took a primer, used for base coating canvases, but you can also use wall paint or acrylic paint. Important is the heavy body. Now you press your stamp (here a border from Celestial Sheet) into the wet paint to leave the image of the stamp. You need to press quite hard to get a decent print. Now you have time to get a cup of tea or coffee, because your work has to dry. It takes some time as the coat is fairly thick.
In the next step I made some dots with light turquoise acrylic paint using puncinella. Let dry again. You can skip this step or use an additional colour. After drying I sprayed some blue ink on the tag and smooched it until everything was covered. The marks I made with the stamp soaked the ink very well, just like the rims where no white paint sits. These parts are darker than the others and you can take some of the blue from the white areas with a paper towel and water. Here you can play around until the colour intensity is like you want it. I want to encourage you to use different materials and find out how they react.
When you use ink first and apply acrylic paint or gesso as a second step, the ink will bleed through your paint. If you apply acrylic first and then spray ink, you can wash the ink off the acrylic completely, the ink only stays on the uncovered paper.
As a last step I embossed the figure and the text from the Celestial sheet in white with some Stampendous Fran-tage embossing powder. It looked real cool in the little container, a mix of white, light blue and silver glitter, but if you want a crisp image I think a fine powder would do the trick.
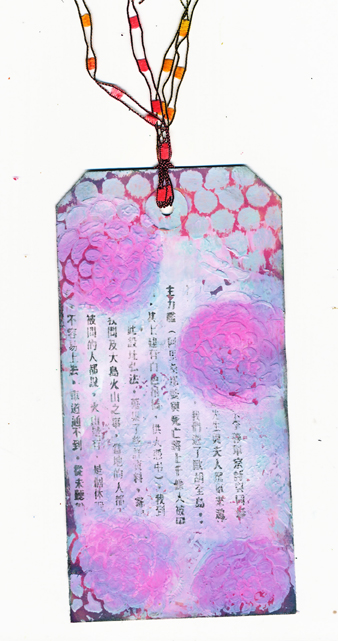
The next tag is created the same way. This time I made my marks with a stencil and the background stamp "Burlap". The effect here was not so dramatic, but gave a nice uneven surface where the ink can sink in.
Can you see how different the same ink colour, here Picked Raspberry, appears on either paper or paint. This attractive chinese text is also from the background collection.
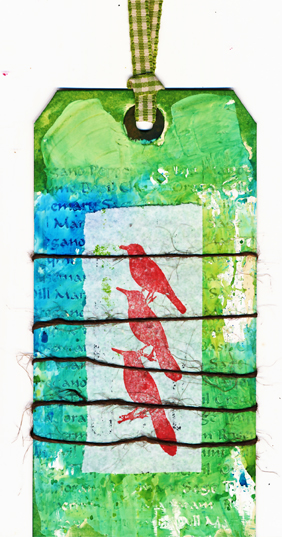
Tag no. 3 uses the stamp Herbal Text. I sprayed green and blue ink on a piece of plastic and swiped it through the ink puddle until I was satisfied with the result. Very quick and easy. After drying some decoration, stamped birds from the sheet Vintage Birds, tied some twine around it, that´s all.
Supply list:
Canvas primer or house paint
Acrylic paint Lukas Arctic
Distress ink pads picked raspberry and broken china
Adirondack Color Wash Sailboat Blue and Lettuce
Acrylic paint Lukas Arctic
Distress ink pads picked raspberry and broken china
Adirondack Color Wash Sailboat Blue and Lettuce
Archival ink vermillion and black
Embossing ink pad and embossing powder white
Thanks for being with me today. I hope you had some fun and it would be lovely to see you next month. You are also very welcome to visit me on my blog artatag.wordpress.com
I wish you a very happy and creative time!
Gabriele from Art-a-tag
Rubber Dance webshop: www.rubberdance.com
We would be happy if you join us on Facebook for the latest news!


Comments
XOX