
Technique Thursday - Using Clingfilm to create backgrounds by Donna Gray.
Hi everyone,
It's Donna here today using clingfilm to create a quick background....well of course you don't have to use clingfilm just to keep your sandwiches fresh!


I used some wonderful new Flat Matte Sprays from That's Crafty! for this as they're lovely and 'juicy'. You can use watercolour paints for this as well as acrylic paints, just make sure it's quite wet whatever you choose to use. I cut a tag from water colour paper for this as it needed to stand up to a lot!

Here's a mixture of all three sprays on the tag, see what I mean about 'juicy'!

The next stage after spraying the colours is to take a piece of clingfilm and cover the whole tag in it, making sure you wrinkle it up as that's how you get the pattern for the background. The colours pool into the wrinkles and then dry in that pattern.

When I did the first tag I thought I might as well make another one, for this one I changed a couple of the sprays for a different colour combination but everything else remained the same.

This is what they look like all wrapped in their clingfilm coats. Put these aside to dry for a few hours or even overnight depending on how wet they are. If you use acrylic paints then I would definitely recommend leaving them overnight to dry thoroughly.

This is what they looked like after they were both dry, great effect huh? What I like about this is that the effect is subtle so will not dominate anything you then create on top of the backgrounds.

Some subtle stencilling for the background as I didn't want to cover up the pattern too much. I decided to go with the second tag I created as it was brighter.

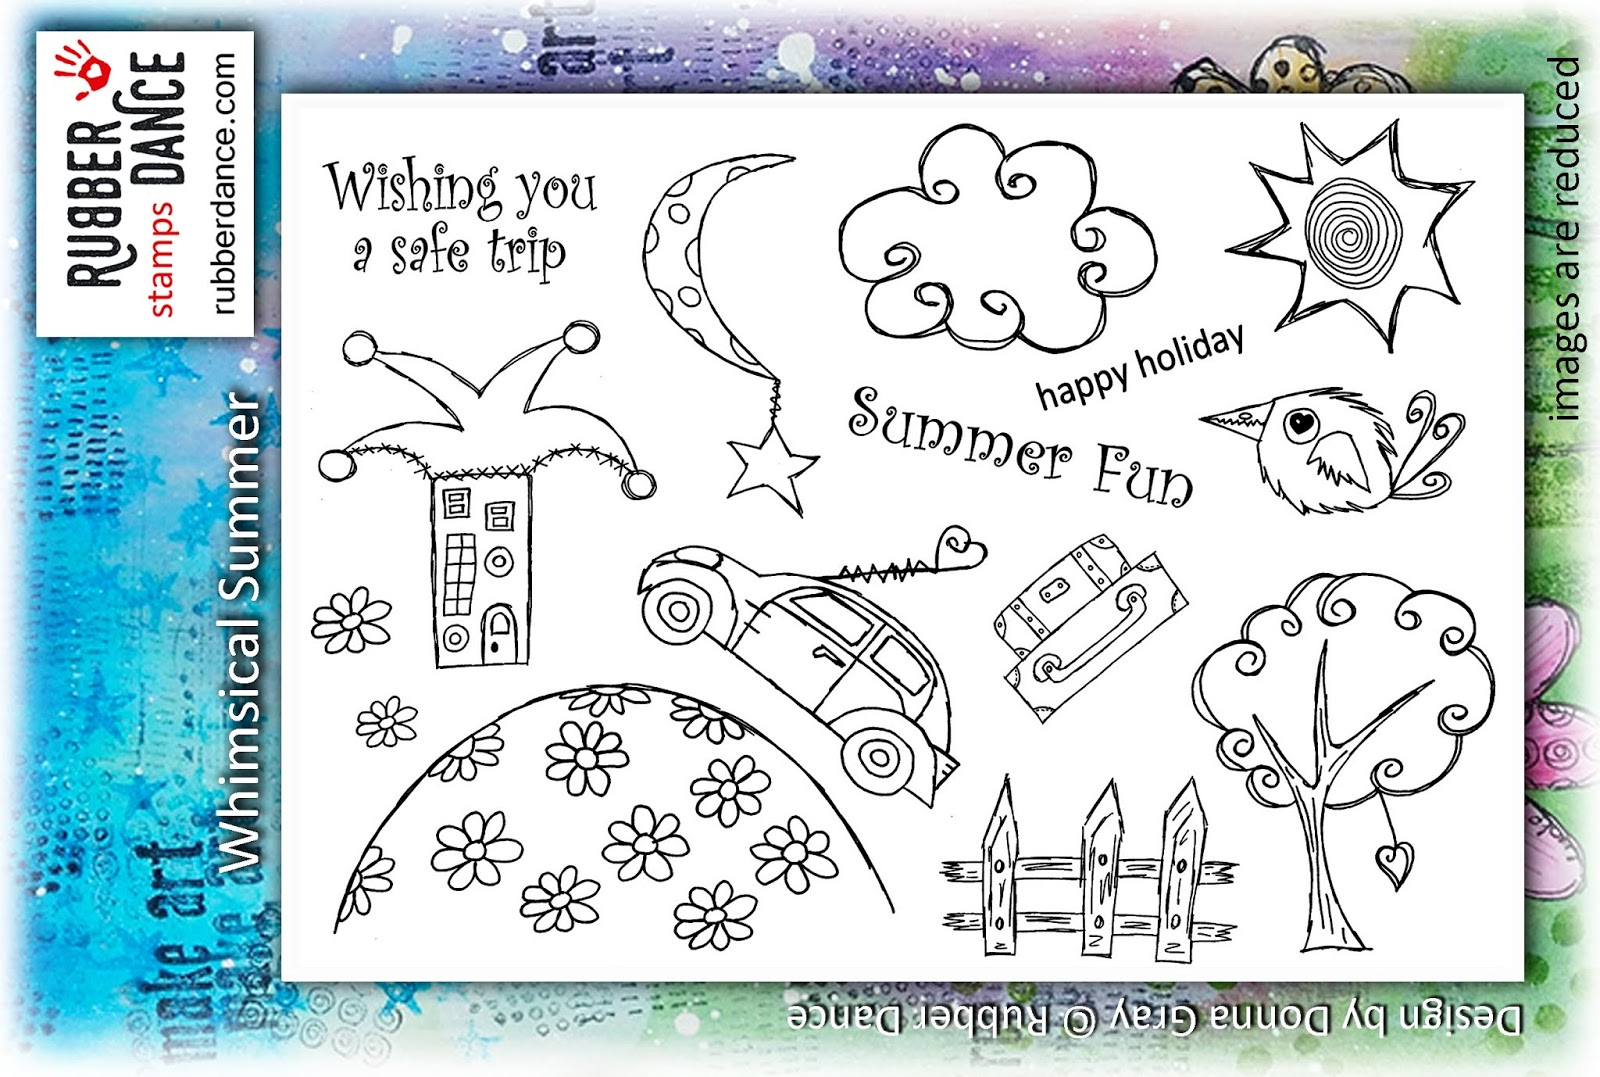
I thought I'd use the tree from Carved Whimsy Wood but then I thought I wanted to make it look a bit more 'Summery' so how did I do that you might ask.......

Well by stamping some flowers from the Whimsical Summer set and colouring them in with Zig Clean Colour pens of course!!


It's Donna here today using clingfilm to create a quick background....well of course you don't have to use clingfilm just to keep your sandwiches fresh!


I used some wonderful new Flat Matte Sprays from That's Crafty! for this as they're lovely and 'juicy'. You can use watercolour paints for this as well as acrylic paints, just make sure it's quite wet whatever you choose to use. I cut a tag from water colour paper for this as it needed to stand up to a lot!

Here's a mixture of all three sprays on the tag, see what I mean about 'juicy'!

The next stage after spraying the colours is to take a piece of clingfilm and cover the whole tag in it, making sure you wrinkle it up as that's how you get the pattern for the background. The colours pool into the wrinkles and then dry in that pattern.

When I did the first tag I thought I might as well make another one, for this one I changed a couple of the sprays for a different colour combination but everything else remained the same.

This is what they look like all wrapped in their clingfilm coats. Put these aside to dry for a few hours or even overnight depending on how wet they are. If you use acrylic paints then I would definitely recommend leaving them overnight to dry thoroughly.

This is what they looked like after they were both dry, great effect huh? What I like about this is that the effect is subtle so will not dominate anything you then create on top of the backgrounds.

Some subtle stencilling for the background as I didn't want to cover up the pattern too much. I decided to go with the second tag I created as it was brighter.

I thought I'd use the tree from Carved Whimsy Wood but then I thought I wanted to make it look a bit more 'Summery' so how did I do that you might ask.......

Well by stamping some flowers from the Whimsical Summer set and colouring them in with Zig Clean Colour pens of course!!

If you like fussy cutting out then you will definitely enjoy this stage....if you don't then that's a shame ;) I added little foam pads to the back of all the flowers to give them more dimension.

Okay so as you can see I got a bit carried away with the process and forgot to take more pictures but you can see on the tag I used more of the stamps from Whimsical Summer which were coloured with the Zig Clean Colour pens too and fussy cut out.
I added a little road for the car just by colouring in with Posca pens and added a Tim Holtz sentiment as a finishing touch.
Stamps Used:
 |
| Carved Whimsy Wood |
 |
| Whimsical Summer |
Hope you like my Summery tag :)
Donna xx


Comments
Yvonne
Hugs
Donna xx