Posts

Showing posts with the label textured feathers

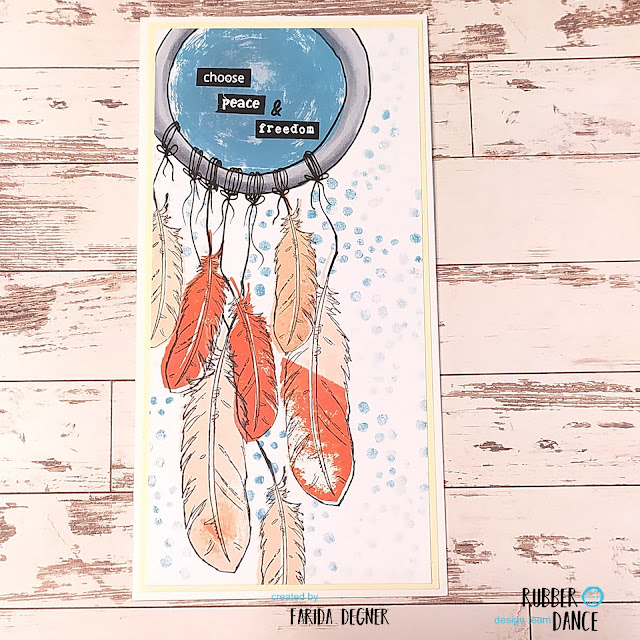
Choose peace & freedom - Card by Farida
Image
 Hello lovlies, I am happy to be back on the blog again. Today full of dreams and hopes to have a world with peace and freedom for everyone.  Inspired by my dreams and wishes I created this card with a dream catcher, mainly using the Textured Feathers Stamp set.  This stamp set comes with the some coordinating outline and full stamps. Thats amazing, so we can stamp the feathers coloured without using markers or pencils. Here I used some ink pads to stamp the inner parts and afterwards stamped the outline over it in black ink colour.  I have drawn two circles and coloured the inner part for the round dream catcher base. From the feathers to circle I added some lines as the thread and added some lines and bows, so it looks like they are wrapped and tied around the ring. On the background I used the dots that come along with this set to add some intrest on  background.  To finish teh card I added some words from the Mix A Sentiment #3 Stamp set.  Stay he...

Make your Art by Samantha Read

Image
Hello, Samantha here today and I would like to share with you this home decor, mixed media creation. I think it's nice to have bright colours around the house, particularly when the sun may not be shining, colours can lift your mood and make you smile, my inspiration came from walking in local woods. I began with the blank MDF and the stamps I wanted to use. The wonderful thing about Rubber Dance stamps is that all the different sets work so brilliantly together, so there's endless combinations. After a couple of coats of white gesso I worked out where my focal point would be and added the bright colours, they did seem a little too bright so I added patched of a very thin layer of white gesso, just to knock it back. Then came the fun part of creating the background. I added texture and details with stamps, the text and stars. Coloured the stamped images with watercolour paints, adhered them in place and finished by adding some inky splats masking off the focal point for maximum...

Falling Feathers by Samantha Read

Image
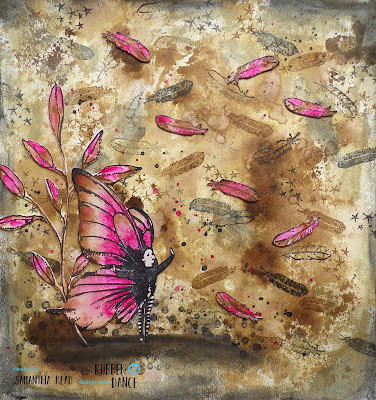
Hello, Samantha here today and I would like to share with you a page for my art journal. I wanted something a little different to my usual clean and bright colours but also I wanted some texture and contrast. So got busy with some distress inks and a spray to begin with..... I used the technique where you lay the distress ink down, spritz it with water and then mop up with the paper. For another colour and layer I used a spray. I then added more texture using gelatos and a stamp. I stamped the gorgeous butterfly girl stamp and the leaves on white card and coloured using watercolour paints. I also stamped some feathers on white card and coloured and stamped some directly on to the page. I finished off my page by adding some arty splats and some stars, there is also some subtle glitter on her wings which the camera didn't pick up.  Here are the wonderful stamps I used: Butterfly Girl #2 Textured Feathers Pencil Marks #3  I do hope you like my page, thanks so much for looking. Fo...

Clean and easy card by Farida

Image
 Hello lovlies, sometimes you are in need of a easy and fast "thank you"-card, but it should still have this little extra, aren't you? So here is my idea and inspiration for you. At first I took a white piece of cardstock and some water soluable ink to brush on it. I liked the idea of having that "thank you" flying to the recipient, so it inspired my to take the textured  feather stamp set.  What I needed next was the something extra for the card, so I took some foils and embossing powder. I love how the feathers now have this foiling sparkle, though i choosed some monochromatic colour scheme for this card. I cutted around the brush stroked background and used some foam adhesive to glue it onto my card base. The "Thanks" word stamp is from the sketchy flowers # 2 stamp set and I used the same foiling technique as for  the feathers. For the last finisheing touches I added some clear nuvo drops. Do you have any go-to-technique for a easy and simple car...

In to the Woods by Samantha Read

Image
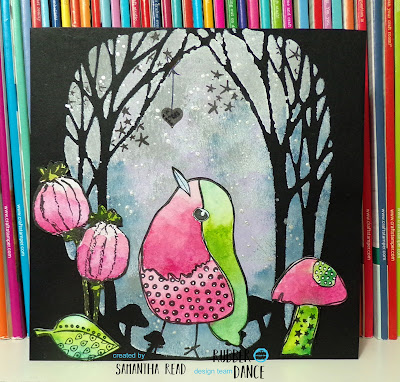
Hello, Samantha here today and I'm sharing a card,  a card which would be suitable for most occasions just by adding a simple sentiment. I love the finished effect with the the bright pink and green against the dark background I created using a stencil on black cardstock. The bird, mushroom, leaf and poppies were simply stamped on white card, coloured using watercolours and adhered in place. To finish I drew the dangly heart. I used various stamp sets as they all work so very well together, they were: Textured Birds Textured Mushrooms Pencil Marks #5 and Textured Feathers for the stars.  For lots more inspiration please join our lovely group on Facebook, Rubber Dance Stamping Lounge, here   Thanks so much for looking, wishing you a lovely day, Sam :)

Cards and Envelope Packaging by Farida

Image
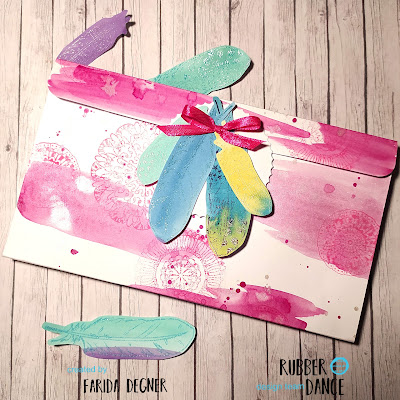
  Hello lovlies, happy to see you here again. I plan to give some handmade cards as christmas presents and was thinking about a nice Packaging for them. So I came up with this simple and easy but nice packaging idea.  I made the sides of the box with some folded paper, so the box can also hold some thicker cards or even more then 5 normal cards and envelopes. I wanted that it can also fit some dimensional cards as for example shaker cards.  After I cut and scored the paper, I used a big brush and my water colours to add some colour. For some more intrest I added Lace doilies with a ink pad that matches the background water colour.  Futher I used some water colours on a thick cardstock for some decorations pieces. For decoration I used the Textured Feathers stamp set and a bunch of embossing powders. After stamping and heatembossing the Feather I fuzzy cut them .  At last I glued eveything together, added some magnets to hold the box closed and added a bow....

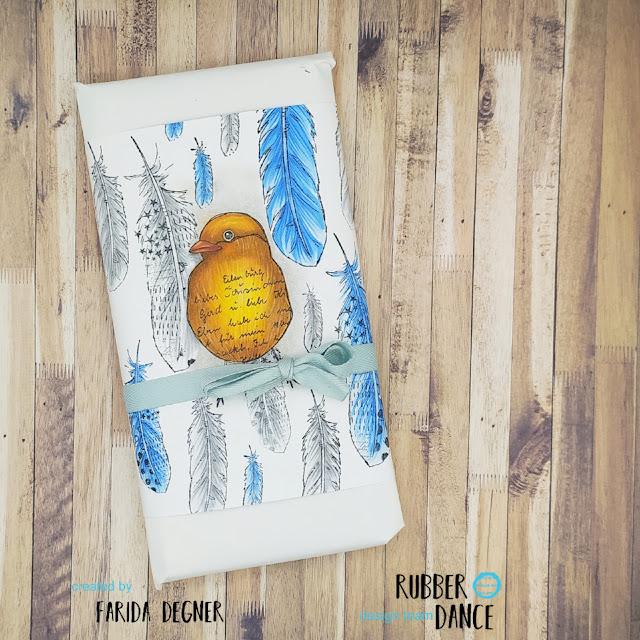
Textured Bird Gift Wrap by Farida Degner

Image
Hi everyone, Farida here. I always like to decorate small gifts a little bit to make it more interesting.  Today I made a wrap for a chocolate bar.      First I took an A5 sized paper piece and started by stamping my focal point, the bird from the Textured Birds  stamp set.      To give some visual dimension to this art work I stamped the bird a second time on another piece of paper, fussy cut and laid it over my first stamped bird. With this protection I started stamping some Feathers for the background.      For colouring in the bird and the feathers I started by using my alcohol markers and just did quick colouring with just a bit of shading. Afterwards I switched to pencils to give the images a more detailed and textured look.     For my focal point bird I decided to colour in a shadow around him, so he can stand out a bit more. Et voilĂ !  Just needed to wrap...

Cards and tags with Textured Feathers by Mariken

Image
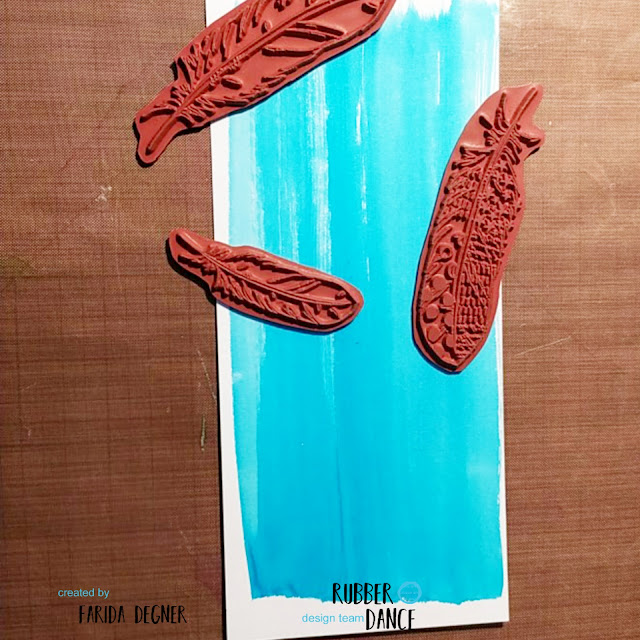
  Mariken here, with a tutorial for you,  making these cards and tags with the Textured Feathers. I wanted these beautiful stamps in the picture! Love the detailed feathers... I  made a some backgrounds with acrylic paint and my gelliplate.   First I rolled some stripes with my brayer and put the stamps into the wet paint. Love the details! You can make two prints. The first directly...     After that you put a thin layer with white acrylic paint. Then you can make your second print, a ghost print.   There you are, two beautiful prints...   With dylusion sprays and some white acrylic paint  I made some prints for the feathers.   Then it's time to make the cards and tags.  I stamped the feathers on the colored papers and cut them out.    I finished the cards and tags with some deatails.  Also little stamps from this amazing stampset. The stamps I used: Textured Feathers  And at last a little reminder that o...