Easy Face-Lift. Just add water.
Hi, everyone! It's Bibi here, and for our new blog's first REAL post I want to show you a fun and easy technique called Face-lifting. That's what I call it anyway, but I'm sure there are other names for it.
This is a technique I use quite often and I have been asked whether I paint the face after stamping the image on a dark background. In a sense, I guess I do paint it ..... and it's really easy once you know the Super Secret Ingredient ...
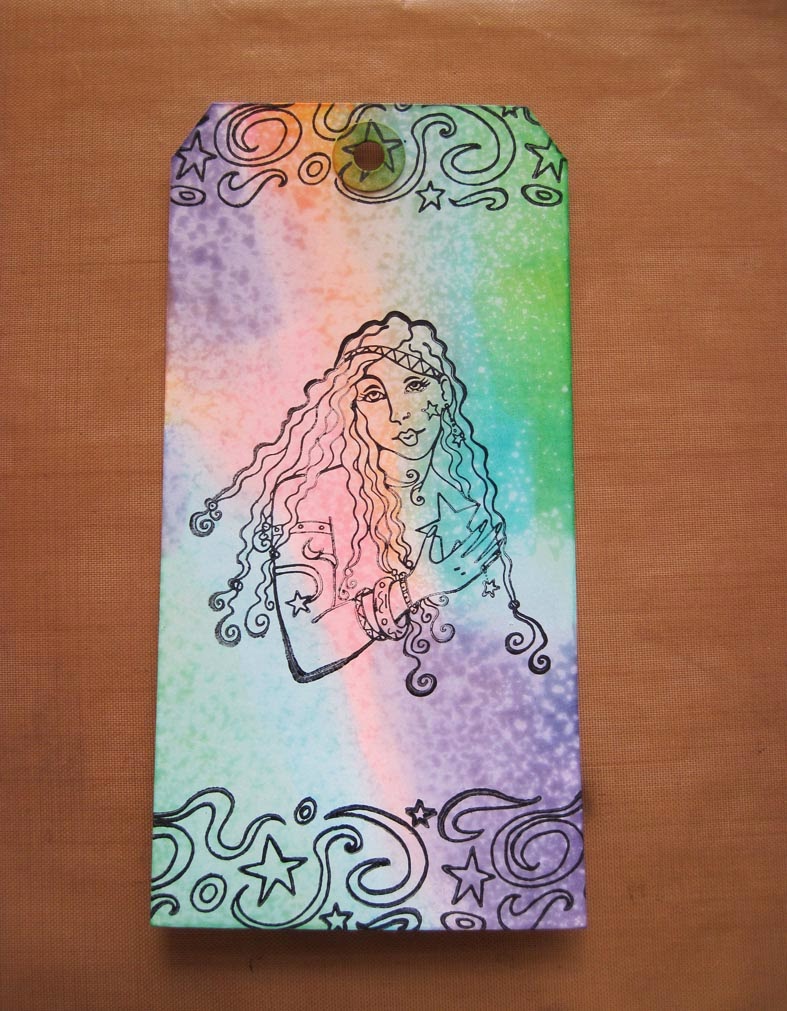
Here's an example:
Stamps used: Lady with Stars and Milkyway Border from #CE1-L Celestial Images
If you have tried this technique before, you know that the Super Secret Ingredient I use to "paint" the skin is ..... wait, I think I can hear a drumroll......water. That's right. WATER, ladies and gangsters! I bet you all have some of that in your stash, huh? The other "ingredients" you need are Distress ink, smooth watercolour paper or coated tags. Face-lifting does work on other white surfaces as well, but these two are my favourites. Experiment with what you already have and see what works best.
Step by step instructions:
1) Smoosh some Distress ink on a tag. It doesn't have to look even.
2) Lightly mist the tag with water to achieve a speckled background, then stamp the images with a waterproof ink (such as StazOn and Archival).
3) Next you "paint" the areas you want to be light, using nothing but a brush and some water. Leave the water sitting for a while before you dab it off with a piece of tissue paper. The length of time the water needs to sit depends on the paper. If it doesn't look light enough after a few seconds, add more water and let it sit for a minute or two.........
...... keep adding and dabbing off water, until it looks something like this:
4) Colour in the stamped images, using colour pencils and gel pens, for instance. Do not use markers or anything containing water, as the water will lift the Distress ink off the image instead of adding colour to it.
5) Jazz your tag up with ribbons and fibers and adhere it to panels in matching colours, and you're done!
The Face-lifting technique can be used on other images than faces, of course. Here's one example. I left the images "white" after the face-lifting, no colouring in afterwards.

#A1-1E Large Dragonfly. Sentiment and hearts from #JNEN-2E Just a note.
Love stamp from #B3-M A little Birdie
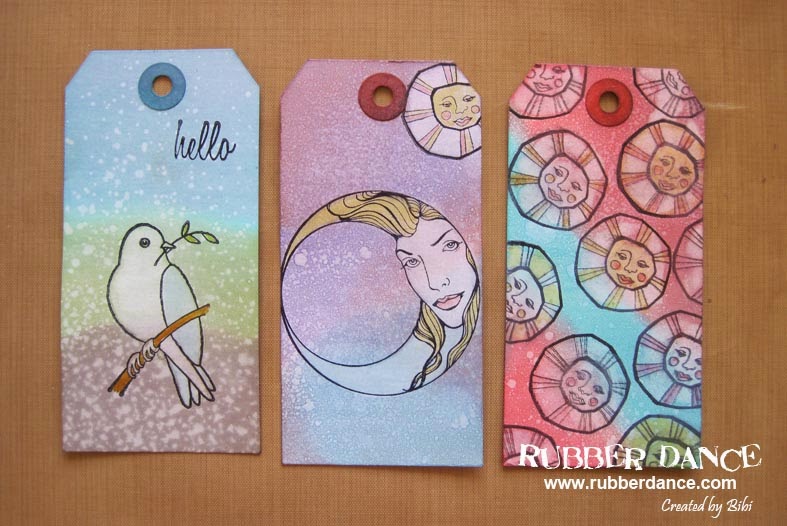
Some more tags .....

#A1-1E Large Dragonfly. Sentiment and hearts from #JNEN-2E Just a note.
Love stamp from #B3-M A little Birdie
Some more tags .....
#B3-1D Flycatcher. Moon Lady and Sun from #CE1-L Celestial Images.
#CO3-4E Nostalgia.
On the card below, I face-lifted the entire stamped image to make the dress look slightly lighter than the background, then continued to face-lift her face until it looked nearly white.
#M1-1E Flute Player. Sentiment from #JNEN-2E Just a note.
I hope you enjoyed the show! Thank you so much for stamping by :-)
Supply list:
All stamps are from Rubber Dance: www.rubberdance.com
Distress inks.
Waterproof ink.
Water.
Smooth watercolour paper.
Tags.
Paint brush.
Colour pencils, gel pens, etc.
Ribbons and fibers.
Tape and cardstock.
Patience (while the face-lifting water does its magic).
Feel free to leave a comment if you have any questions about the face-lifting technique, or anything else.
Have a stamptastic day!
XOX,
Bibi L.
To find the stamps I have used, and many more, visit the Rubber Dance website at: www.rubberdance.com. You can meet us on Facebook - come on over and say hi!
XOX,
Bibi L.
To find the stamps I have used, and many more, visit the Rubber Dance website at: www.rubberdance.com. You can meet us on Facebook - come on over and say hi!


Comments
all the best on your new blog and website and product lines!
Yes, you should give this tech. a try, it's so fun and easy! (Gotta like that combination).
XOX
Something as simple as this would be the perfect way to try your video techniques. I
know you can do it! :-D
And you're right about a video tut, this technique would be good for a video tut - once I learn the video editing programme ... (I will, I will! ;-) )
XOX
XOX
XOX
XOX
HUGS rigth back at ya.
XOX
XOX
XOX
XOX
Fabulous images & great colours/techniques on your tags.
Congrats on your new Blog:-) xxx
XOX
~Olga Kovalchuk
XOX
XOX