Posts

Showing posts with the label grungy borders

Textured Mushroom Art Journal Spread by Ellie Knol
Image
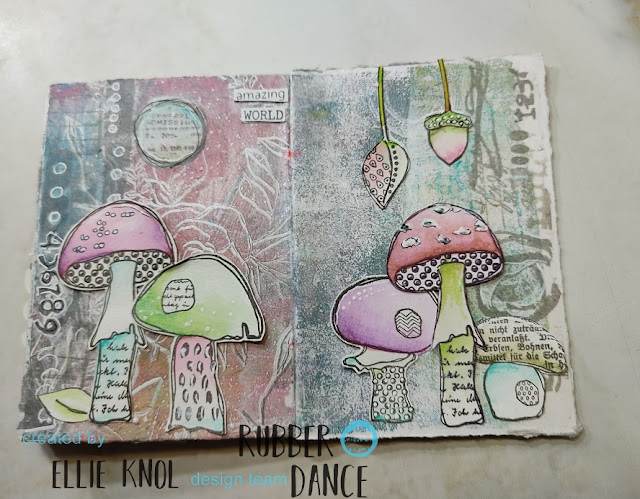
I love making collages of stamped and fussy cut images onto gelli printed pages.  This art journal has been made with gelliprints that were not particularly beautiful on their own.  Using them to collage and stamp onto makes them very useful for beautiful backgrounds.  I hope you like it, see you next time!    Rubber Dance Stamps: The Rubber Dance Webshop Textured Mushrooms Textured Flowers  Sketchy Flowers #1 Grungy Borders Mixed Media Marks Mix A Sentiment 1
Sketchy Bird meets Antique Butterflies by Ellie Knol

Image
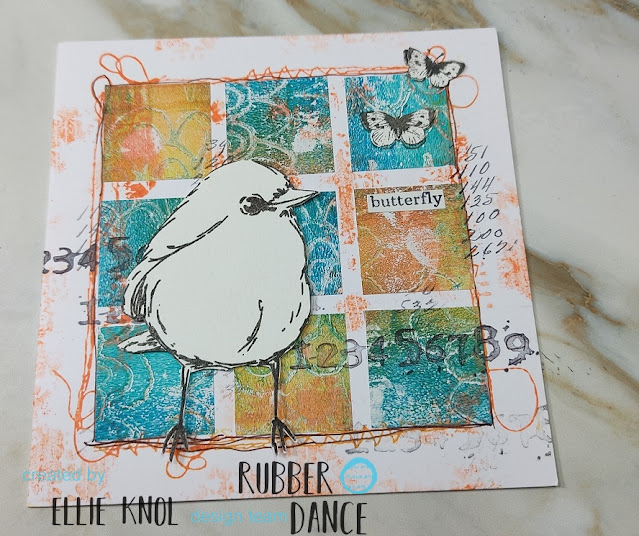
An easy card today from me .. I used leftovers from a sticker sheet that was monoprinted on (see this post ) from my stash and cut 3x3 centimeter squares from it to form a square on a blank square card.  I stamped with orange and black background stamps onto the card to tie it all together as shown. A fussycut bird, butterflies and a sentiment finish it off.  See you next time! Rubber Dance Stamps: The Rubber Dance Webshop bird Sketchy Birds (Clear - 0006) Pencil Marks #1 Mixed Media Marks #3 Antique Botanicals Grungy Borders Mix A Sentiment 1

Mixed Media Collage material by Ellie Knol

Image
Today's inspiration from me (Ellie) will be creating a basic surface for your stash to easily tear and use as collage material on any project.   What am I talking about?  Creating background papers for collage. I saw a You Tube video from Susanne Rose, the owner of Rubber Dance as you certainly know,  creating background papers on rice paper on the gelliplate.  I  had an 'aha' moment and decided to share this way of making collage papers.  Basically you need a very thin paper, rice paper, or even thinner: tissue paper. The better it collages without showing an edge where it gets decoupaged to, the better it is to use in collages.    I mostly chose background and script stamps as they can easily be used in a background as collage material.  **** To show you how I use this on a project, I've made a collage in an art journal with gesso and color.   Tear the paper to pieces, easy way is to use a thin wet brush and mark the line yo...

MARCH INSPIRATION

Image
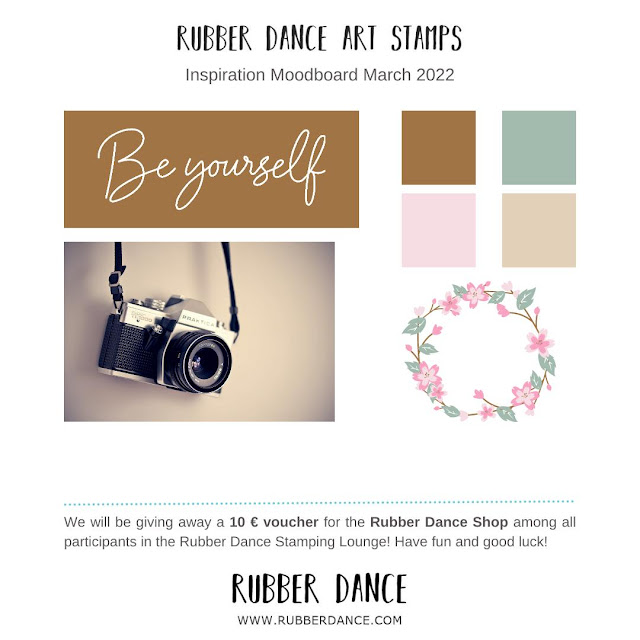
  Hello Rubber Dance friends. Gail here today, and it's the merry month of March!!   Let's hope spring is just around the corner. The first day of the month so we have a new moodboard.  You can be inspired by anything on the moodboard; one or more colours, things, shapes, memories it inspires, things it makes you feel, etc. etc..  It's basically anything goes, but in case you need a little help to get started Dunja has put together this awesome inspiration for you. Here's the wonderful March Moodboard   If you are creating anything with Rubber Dance stamps this month, whatever your inspiration, please share in our FB fan group cos someone is going to win €10 to spend in the Rubber Dance store !   Don't forget.... You gotta be in it to win it! Now here's some moodboard inspired inspiration from the team to get us started....     Angie used Carved Collection 1 , Carved Collection 3 , Mixed Media Marks and This Is M...

Textured Bird Collage Tutorial by Ellie Knol

Image
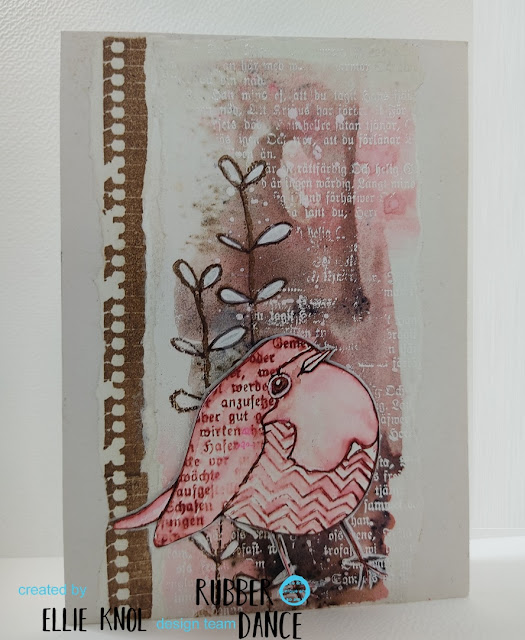
Ellie here today, so soon after the start of the month, the new moodboard and challenge post just yesterday.  Did you see all of the beautiful inspiration?  If you followed the link to my blogpost from yesterday, you would've seen that I made a promise.  I promised to tell how I've stamped these birds.  It's not difficult at all: stamp the bird with Aged Mahogony Distress Ink onto a good quality of watercolor paper. Wet a small watercolor brush and gently wet the areas you want the color to flow into with the brush, by just touching the edge of the stamped line.   I chose to leave the image in the stamping tool while doing this; just in case I had to re-stamp the image, but that was not necessary.  The bird I've used for yesterday's card was done the same way, only it was stamped with Vivid Plum, and color added to the breast and tail of the bird with the same Distress Ink.    I fussycut the bird, with no white edges. This was the first step ...